MIgardener Complete Guide To Growing Microgreens at Home
|
|
|
|
Microgreens are all the rage! These tiny nutritional powerhouses pack loads of flavor in a smaller version of their adult counterparts.
I love growing microgreens at home and have been doing it for over a decade. I’m convinced that it is one of the simplest and quickest ways to grow food, even easier than learning how to grow herbs, how to grow lettuce, and how to grow cabbage. That’s why we carry a microgreen seeds kit and a microgreen growing tray in the MIgardener store.
In this guide, you’ll learn why microgreens are so popular, the best soil to use, light requirements, and everything else you need to know to grow beautiful microgreens for your table and for market!
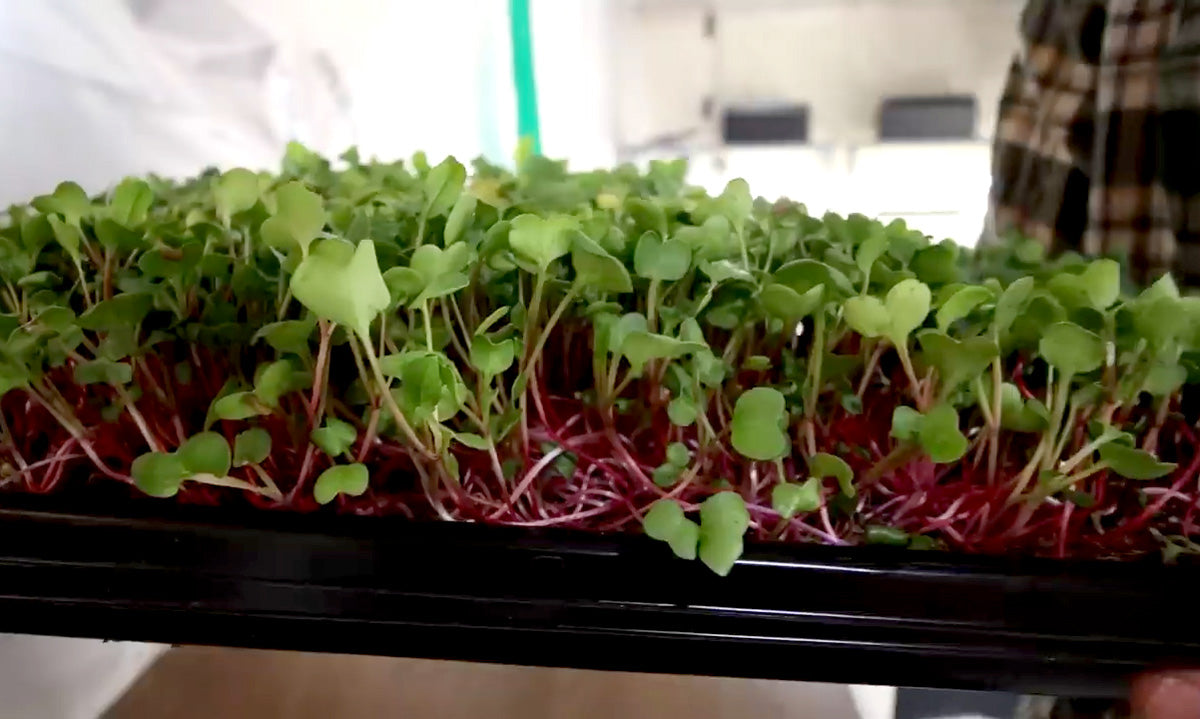
Microgreens are the seedlings of vegetables and herbs harvested when they are about 1-3 inches tall, which allows you to grow a ton of food in a small space. In just one 10x20-inch tray, I can grow roughly a couple thousand micro-broccoli plants!
Microgreens are popular because they are easy to grow, packed with flavor, and high in nutrients like Vitamin E, C, and K, beta-carotene, phytonutrients, and antioxidants. As a matter of fact, they have about 10 times more nutrients than their mature counterparts!
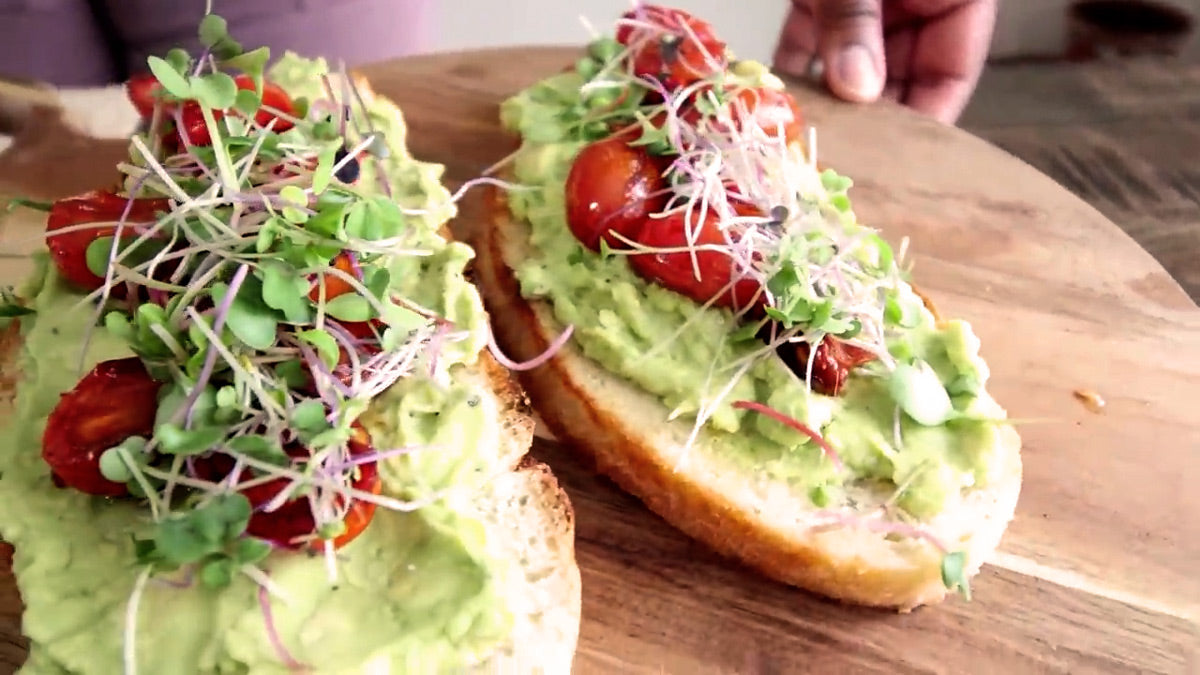
They are often used as a garnish or added to salads and sandwiches for a pop of flavor and color.
There are a lot of popular microgreens out there! Broccoli microgreens are at the top of the list because they are so easy and foolproof, and they can be harvested in just 4 to 7 days.
The following list of microgreens are all easy to grow and have great flavor. These varieties are also in demand among chefs and consumers, making them a good choice for market gardening.
Here are the top 10 microgreens that are popular to grow:
Arugula
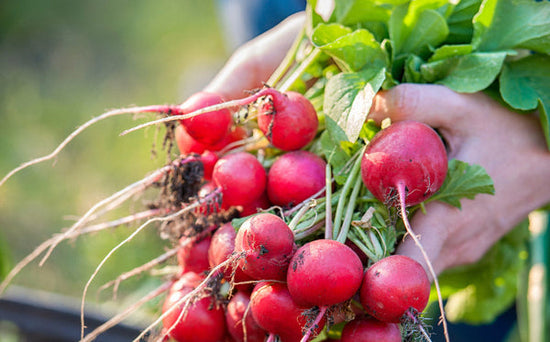
Radish
Broccoli
Cabbage
Basil
Cilantro
Pea
Mustard
Sunflower
Kohlrabi
There are a few supplies you will need to grow microgreens:
Flood Tray - Your flood tray needs to hold water and be large enough to fit the rooting tray.
Rooting Tray - This is where you will grow your greens. The rooting tray should fit into the flood tray and have holes in the bottom that allow water to wick up from the flood tray. Microgreens can be grown in a variety of containers; just make sure your rooting containers have drainage holes and are at least 2 inches deep.
Blackout Dome - As the name suggests, the blackout dome needs to fit over the rooting tray and keep the sprouts in the dark. A piece of cardboard can work well as a blackout dome.
Growing Medium - The best growing medium for microgreens isn't soil. Paper towel acts as a wonderful sprouting medium, and is super cheap! You can also grow in coconut coir or seed starting mix, but you don’t need to for such a fast turnaround crop.
Microgreens Seeds - You need about 1 ounce of microgreens seeds to grow a full 10x20-inch tray. You’re probably thinking that seems like a lot, but when growing microgreens, planting density is key!
Pro-Tip: Bootstrap Farmer 1020 extra-strength trays work great for growing microgreens! If you have two hole-less trays and one with holes, the tray with holes works as a rooting tray and nests perfectly in a hole-less tray, which acts as a flood tray. The third tray can be used as a blackout dome.
Prepare Growing Medium - Put your growing medium in the rooting tray and moisten it. In our case, that means you should line your rooting tray with paper towels and pre-moisten them. Pro-Tip: Pre-moistening helps keep seeds evenly dispersed across the growing medium. If you pour them onto a dry surface, the seeds will roll around every contour and gather in certain areas, creating pockets with lots of seeds and others with few.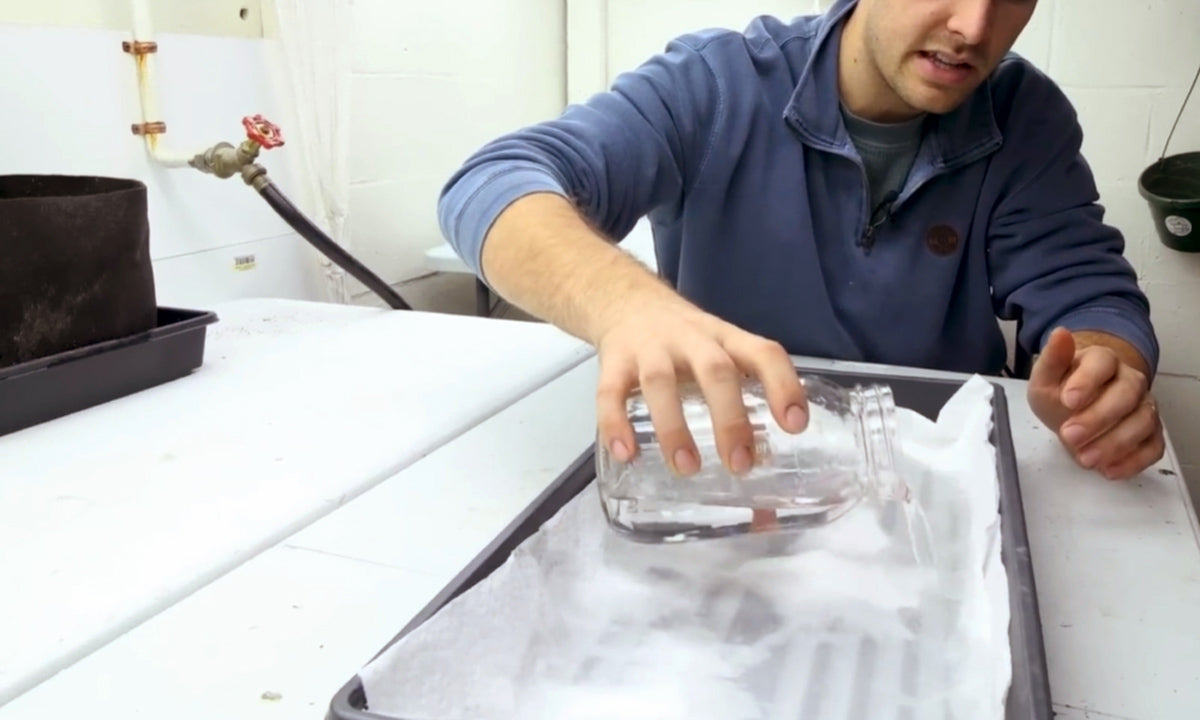
Add Water - Add water to the flood tray, then nest the rooting tray in it. Add enough water so the roots can make contact with it, but not so much that they are completely flooded.
Sow Seeds - Sow the seeds densely over the surface of the growing medium. Many people make the mistake of sowing lightly. I’m telling you, densely sowing is super important for success because it allows the greens to support each other once they sprout!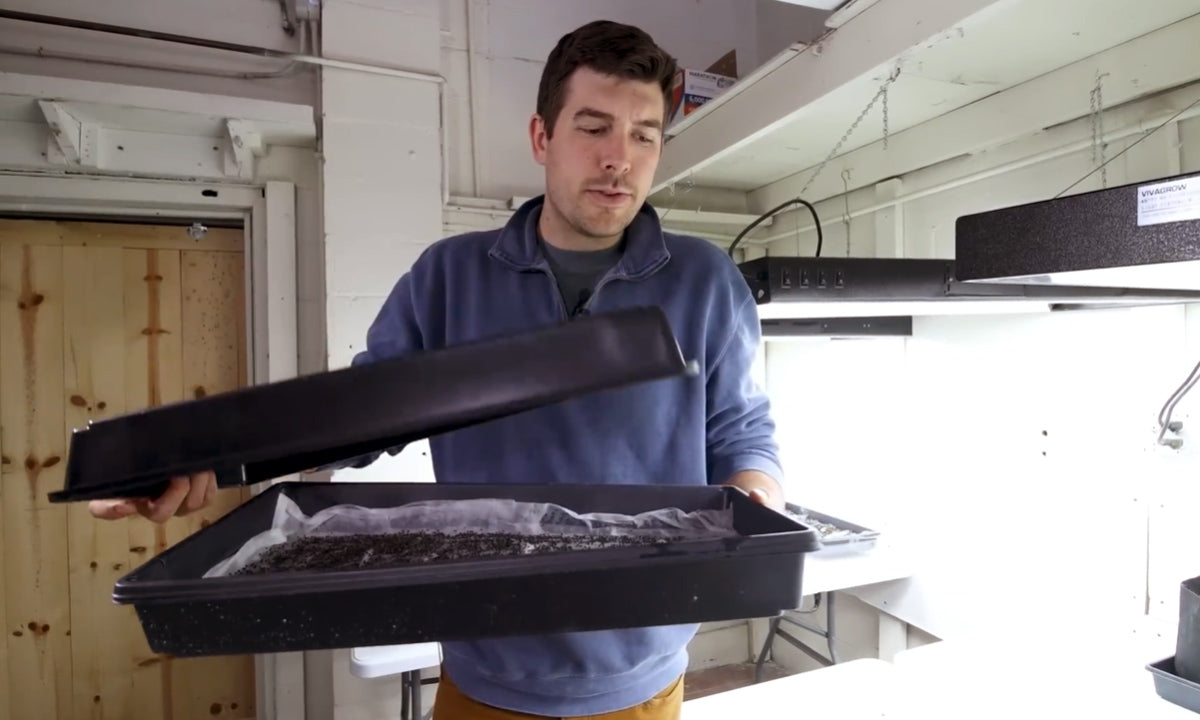
Cover - Cover the rooting tray with a blackout dome. A blackout dome will cause the plants to stretch up. Normally, when starting seeds indoors, you don’t want your seedlings to stretch and get leggy, but in this case, that will actually give you more yield.
Provide Light - After 4 or 5 days, remove the blackout dome and provide light to the seedlings. Microgreens don’t really need much light to grow. You can go out and get the best grow lights and they will work great, but honestly, that’s overkill. All you need is a window that gets an average amount of light.
It’s that simple! Growing microgreens is a fun and rewarding way to add variety to your farm or garden. With a little bit of time, you can have a steady supply of nutrient-rich microgreens to enjoy or sell at farmers' markets.
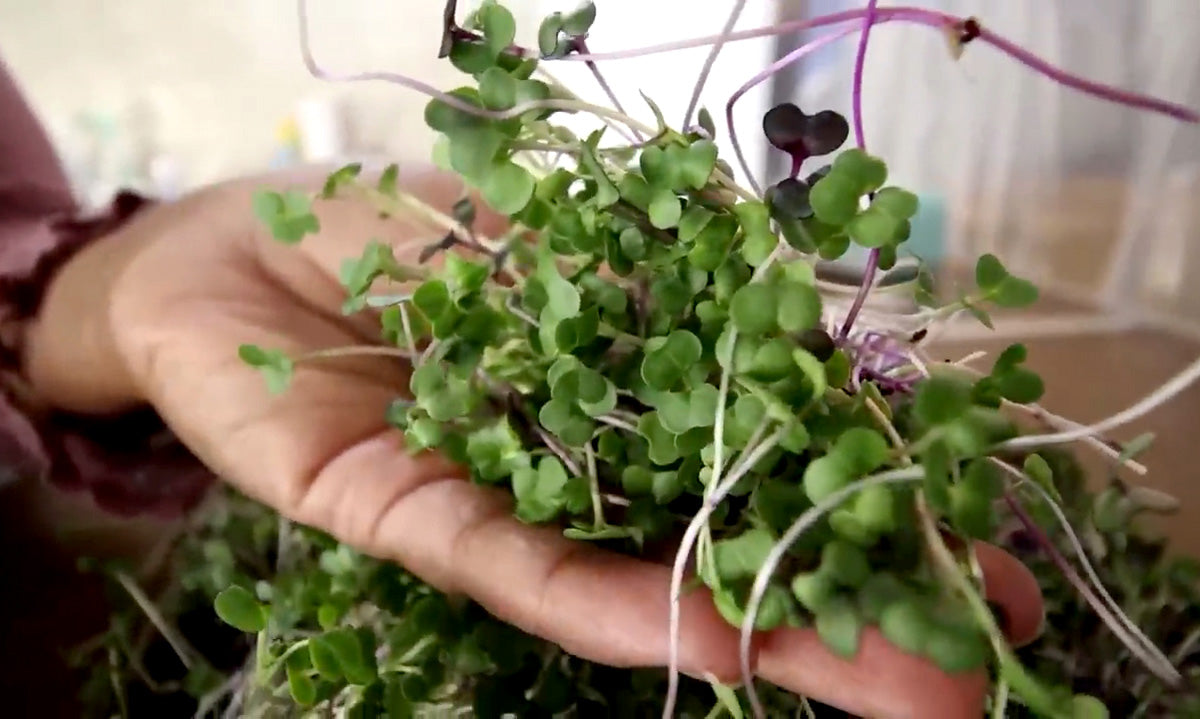
Microgreens are ready to harvest when they are 1-3 inches tall. Use scissors or micro-tip snips to cut the microgreens just above the growing medium.
Store microgreens in an airtight container in the refrigerator. They will keep for 1 ½ to 2 weeks, sometimes up to 3 weeks.
No, microgreens are a one-time harvest crop.
After sowing microgreen seeds on the growing medium, you do not need to cover the seeds with soil.
Yes! Microgreens can be grown year-round indoors.
Luke Marion
Luke Marion created MIgardener in 2011 with a passion for inspiring others to grow a garden, live healthier lives, and have fun doing it. With the help of social media, that was all made possible! Today, MIgardener can be found on YouTube, Instagram, TikTok, and Facebook. We believe gardening should be made fun and accessible to anyone of any skill level. Our slogan, “Grow Big or Go Home,” was created to help drive home our mission. We believe that when you put 100% effort into something, you will get 110% back.